
A coupling in a canopy wall is one job. A switch beside it is another. Put both in the same plate and a few decisions get made for you, some of them good, and some you need to check before you cut anything.
This is about the second kind: what a combined air and switch panel changes, and what it does not.
What one panel buys you
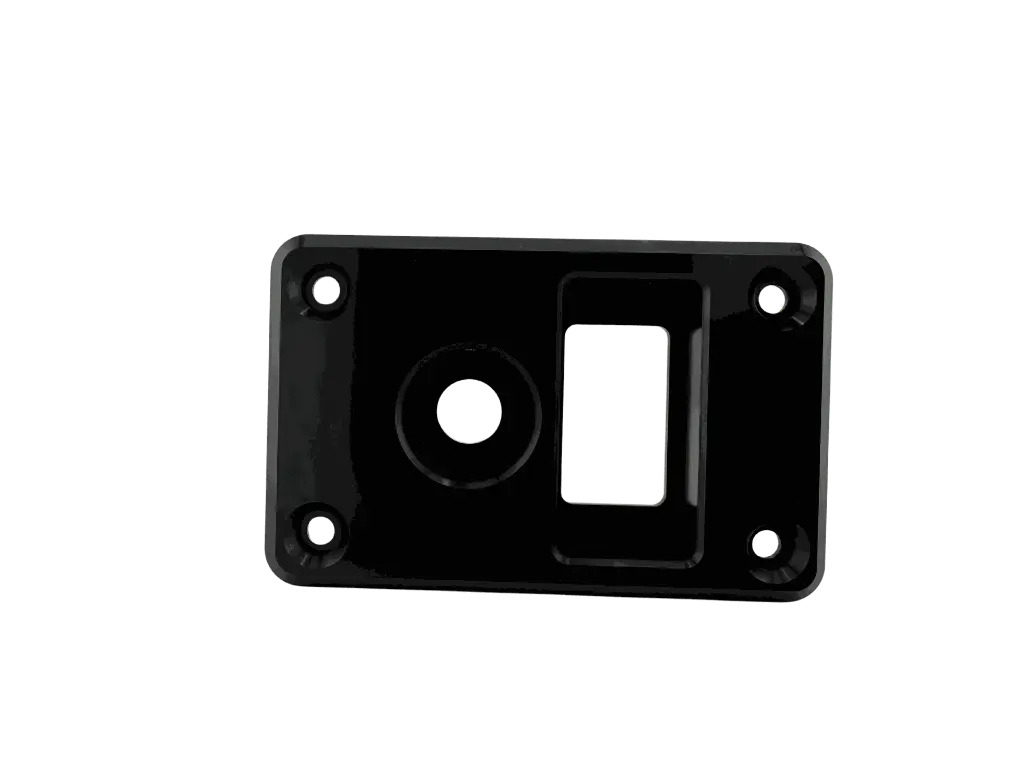
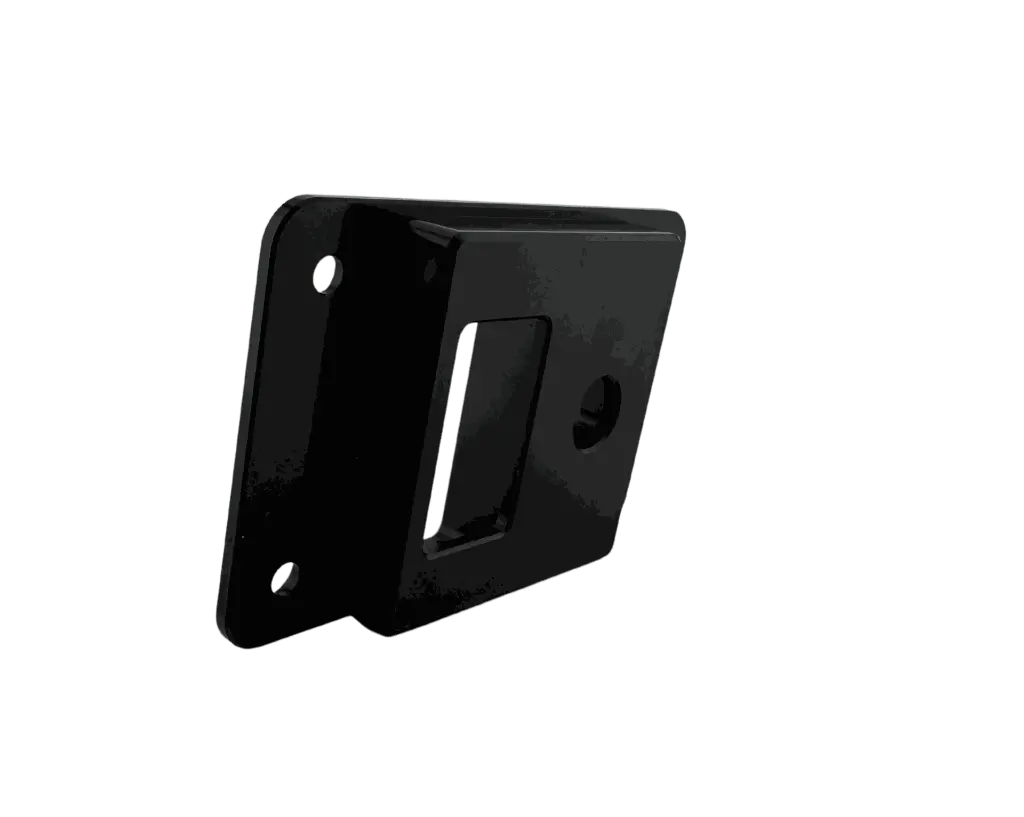
The obvious gain is one opening in the wall instead of two. That means one gasket line to seal rather than two, and one set of mounting holes to get straight. The CX40 is built this way: a single CNC machined billet aluminium plate, black anodised, carrying a 19mm Nitto-style air coupling and a Carling-style rocker switch.
The less obvious gain is spacing. When the two fittings are cut into one plate, the distance between them is fixed at the factory. You are not lining up two separate holes by eye, and you cannot drift out of square halfway down the wall.
Two different services behind one plate
Behind the panel, the two sides want different things.
- The air side wants a hose that leaves the coupling in a gentle curve. A tight bend right at the fitting is where hose splits over time.
- The electrical side wants a wire with a little slack and some strain relief, so a tug on the loom pulls on the clamp and not on the switch terminals.
Route them to opposite sides of the cavity where you can. A hose that moves under pressure or vibration will rub on a wire's insulation if they share a path, and insulation is the thinner of the two.
Where on the canopy it should go
Stand at the tailgate with the canopy open and see where your hand lands without moving any gear. That is where you want the panel. A few rules of thumb hold up well:
- Above the wheel spray line. Water and grit thrown from a tyre end up in whatever sits low on the wall.
- Away from where bags and straps drag. A rocker switch is hard to move by a sideways brush, but it is not impossible. If it is in the path of your gear, read The switch you knock with your knee, and the cover that stops it.
- Clear of the lid or door arc. A panel you have to reach around a door to use is a panel you stop using.
What the switch should and should not carry
A rocker switch has a current rating, and it is printed on the switch or its packaging. Read it. A compressor motor draws noticeably more current when it starts than when it is running, so a switch rated close to the running figure can be marginal at the moment that matters.
The safer pattern is to let the switch trigger a relay and let the relay carry the load, with a fuse close to the power source. That also keeps the heavy cable short, which matters because every extra metre costs you volts. If you want the numbers, Rated 50 amps, still losing volts covers it.
Sealing one gasket line
With a single opening, the seal is a single job, so do it properly. The wall around the opening has to be flat and clean, the gasket has to sit evenly, and the fixings need to be tightened in turn, not one at a time to the stop. Where a wire passes through the wall, use a grommet or gland so the cut edge never touches the insulation.
A short checklist before you cut
- Hold the panel against the wall and mark through it. Use the cutout shown with the panel, not a remembered figure.
- Check the space behind: ribs, braces, other panels, hose and wire paths.
- Decide which side the hose leaves, and which side the wire leaves.
- Confirm the switch rating against what it will switch, and use a relay if in doubt.
- Seal the opening with the gasket sitting flat, and protect the wire where it passes through.